Lighting Techniques
Capture Food Beautifully: Mastering Lighting Techniques
Food photography is an art form that requires skill, creativity, and attention to detail. One of the key elements that can make or break a food photograph is lighting. In this guide, we will explore various lighting techniques that can help you capture food beautifully.
1. Natural Light
Natural light is often considered the best option for food photography. Position your subject near a window where soft, diffused light can illuminate the food evenly. Avoid harsh sunlight as it can create harsh shadows.
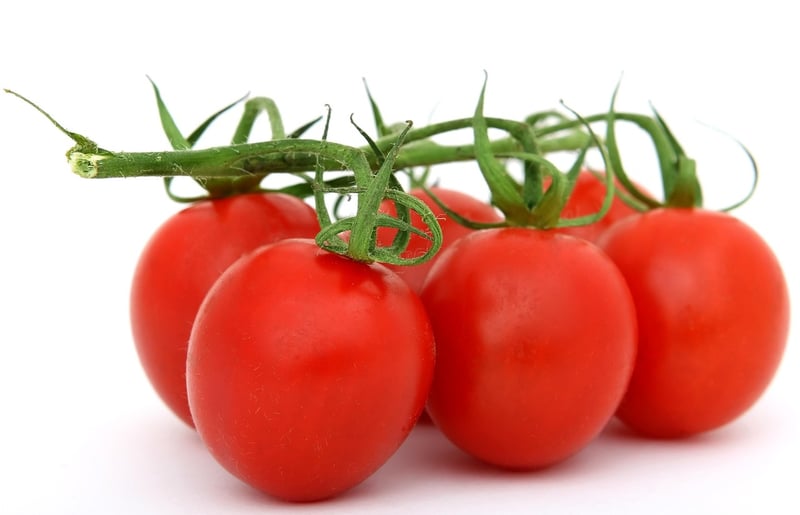
2. Artificial Light
When natural light is not available, artificial lighting can be used effectively. Softboxes, ring lights, and LED panels are popular choices for food photography. Experiment with different angles and intensities to achieve the desired look.
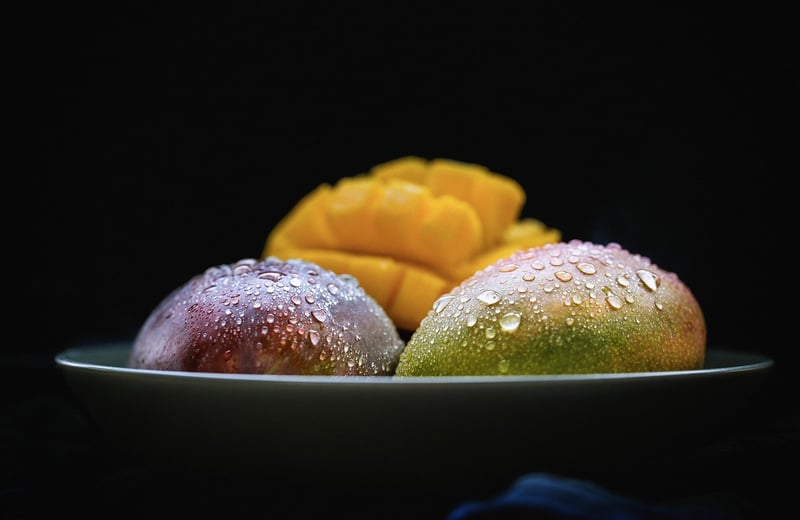
3. Backlighting
Backlighting involves placing the light source behind the food to create a glowing effect around the edges. This technique can add depth and visual interest to your food photos.
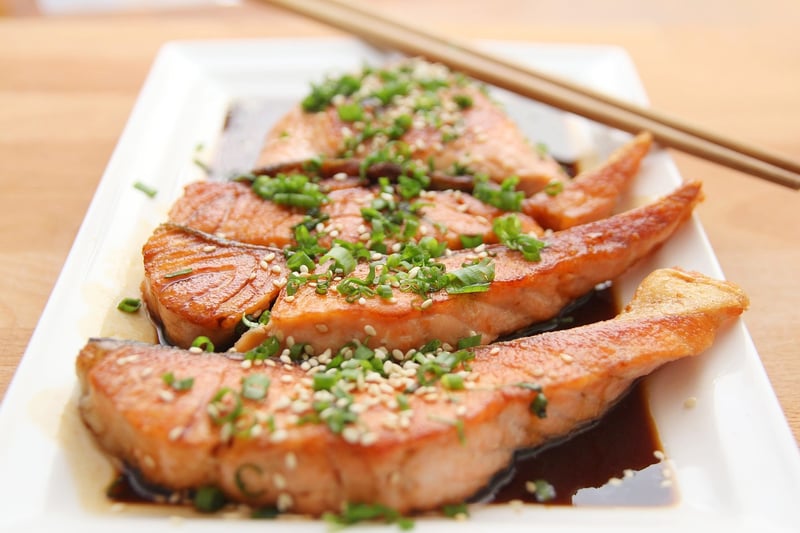
4. Fill Light
Fill light helps to fill in shadows and create a more balanced exposure. Use reflectors or bounce cards to bounce light back onto the food from the opposite direction of the main light source.
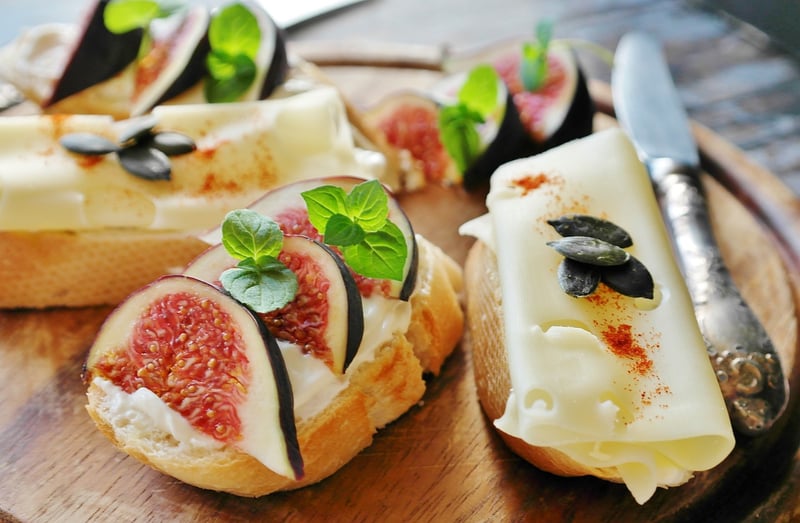
5. Light Diffusers
Diffusers are essential tools for softening harsh light and reducing glare. Place a diffuser between the light source and the food to create a soft, natural-looking light.
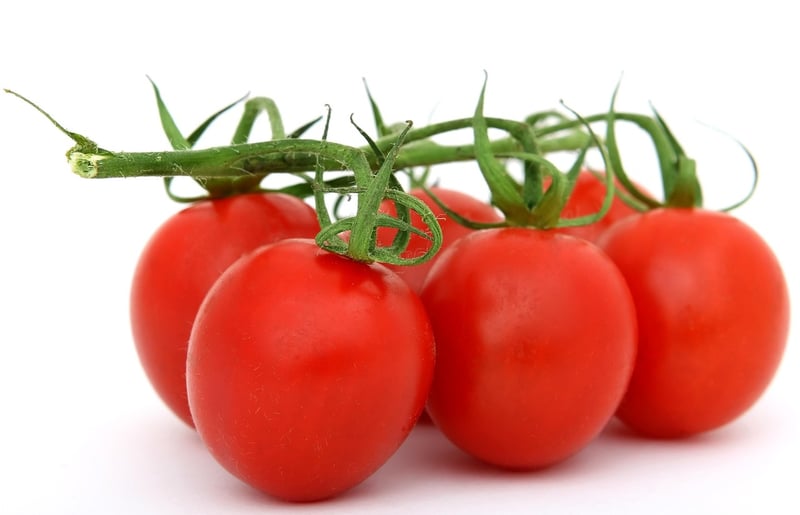
Mastering lighting techniques is crucial for capturing food beautifully. Experiment with different lighting setups and find what works best for your style. Remember, the right lighting can elevate your food photos from ordinary to extraordinary.
Now grab your camera, set up your lighting, and start creating stunning food photographs!
